 |
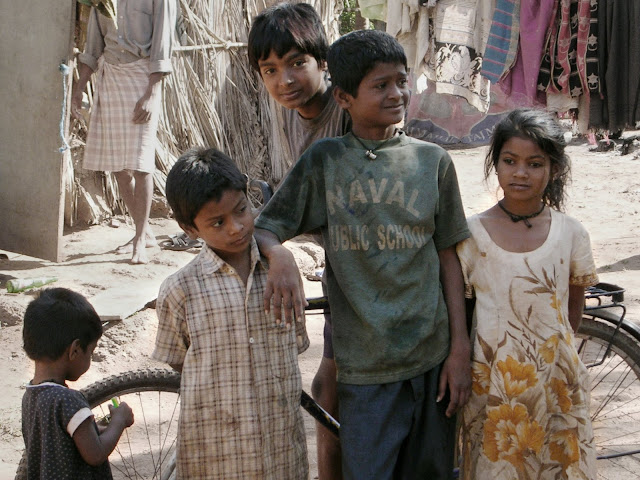
| After manipulation, the final work |
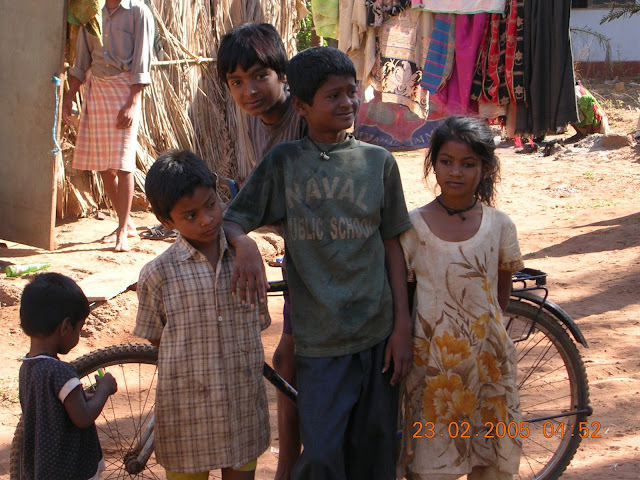 |
| Original picture before manipulation |
Photo enhancement and picture manipulation are routine part of digital photographing today. I have used some basic tools to make this picture from India look better.
Before doing anything it is good to teach children some basic things which are similar on almost any software:
1.
Open the program and the chosen picture (find the picture on your computer ->right-click ->open with... ->choose the right program)
2. Duplicating
layers (on the right hand side there is a box called
layers and there should be a layer called
background ->right-click ->duplicate the layer) several times. Each action/effect is good to make on a different layer for easy playing with them - they can be marked as visible or unvisible (click the eye icon of the layer) and are easy to delete later. The order of the layers is easily changeable (left-click ->hold ->drag), the top one on the list is the top layer in the picture.
3. If using GIMP, make 'see-through'
alfa channels (right-click the layer on the layer box ->add alfa channel) for all the layers, not needed when using Photoshop or Paint Shop Pro. Having alfa channel means that if you use eraser, it makes the layer see-through - if you don't have it, eraser leaves white marks and layers underneath are not seen.
4.
Changing opacity of the layers is very usable action too. It is found in the layer box above the layers.
5.
History box on the right hand side is for moving back and forth of your actions. In GIMP it is in the same area with layers, just choose the different tab (the one with yellow arrows)
6. To make the picture one flat photo again, use
merge down action (right-click the top layer -> merge down).
When children know these actions, show them the toolbox on the left hand side. It is always good to tell them to have a play with different tools even before telling them anything about them. On the top menu there are different tools and actions for changing contrast, hue and saturation, filter gallery, blurring etc. I'd show them just the basic ones: contrast, curves, color balance and auto tools.
One of the most used tools is stamp tool/clone. It can be found in the left hand side toolbox as shown in the picture beneath.
I used
stamp tool for removing the date and time. It is a bit confusing tool to use at first but once you get it, it can be used for many things. It simply works the way that you choose the place where from you want to clone (ctrl+alt+click) and start cloning (click the place you want to clone to).
After this step I
cropped the picture (2nd row of the toolbox, the most right icon).
I changed contrast and the colors with
curves tool (top menu ->tools ->colors/adjustment ->curves), the basic view of the tool changes contrast, and there is a menu for red/green/blue to change data of each color.
I made a
desaturated layer (duplicate the 'curve' layer ->tools ->desaturate) and decreased opacity of the layer.
At last I edited background to look lighter with
lighten/burn tool wchich can be found on the left hand side toolbox last row, the most right tool.


